TURN 1
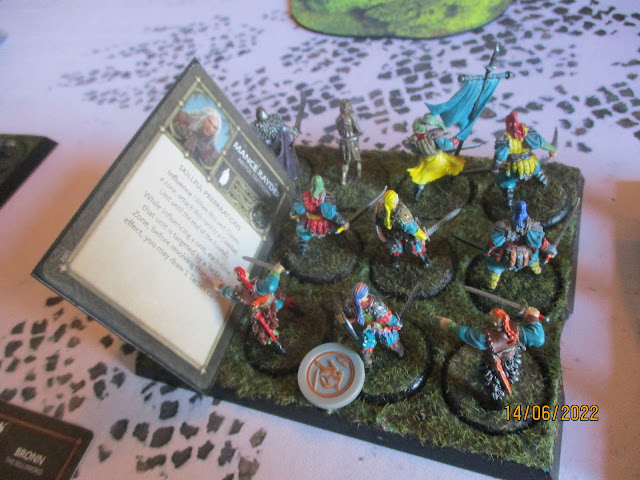
Greg went first and took the letters, I countered on horses to advance Flayed Men up before Mance
took crown to zap my Mummers...
who he had panicked when taking letters
Still, my dice were smoking!!!
Even with the re-roll...
The rest of the turn was lacking in tact and subtlety as we both marched up
END OF TURN 1
Yeah, that's right, I am first in Turn 2
TURN 2
Greg used Co-ordination tactics to give Horrific Visage to the Spearwives at the start of the
turn
But I wasn't phased as I had a cunning plan...
And promptly lost 6 men due to Greg using There's Too Many and me rolling maximum
on the failed panic...
The next few turns involved us battering away at each other or healing somehow...
Down to two wounds as Harma sentinelled into me...
Precarious to say the least...
Fortunately Greg took the Horses for the Endless Horde allowing Roose to takes swords and
get the Flayed Men to flail again while popping a panic token on the spearwives...
Allowing me to heal 4 wounds up on the Flayed Men and then swing a 3rd time with
Issue Commands which finally killed the Walrus and his Spearwives
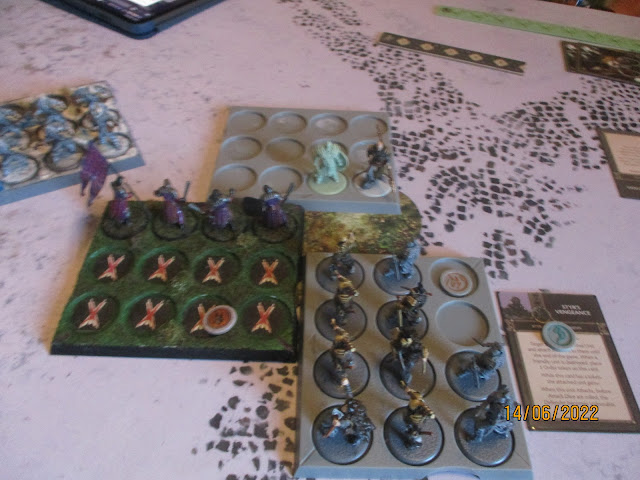
On the left I was taunted by the Thenns and had to charge, but failed and instead managed to
expose my flank
Having already used some Raiders to Regroup and reform, Tormund charged in to flank my stuck
Flayed Men
I managed to pass all three saves that hit...
Having exposed his rear, Tormund tempted me into the 4+ charge with the Blackguard
And its fair to say, Tormund barely hung on...
And on my left, my Cutthroats charged the flank of the Thenns on a 5+...
Greg was forcing me to take risks as he was swarming me...
And while this looked good...
And this looked better....
The Raid Leader and his Raiders were poised to return the compliment though
and Thenn defiance helped them saves 3 wounds from the failed panic check...
The Raiders paid back my limited success in spades with 6 wounds...
and 3 more from the panic check...
Before the Thenns finished the job...
END OF TURN 2
HOUSE BOLTON 2 VP's
FREE FOLK 3 VP's
TURN 3
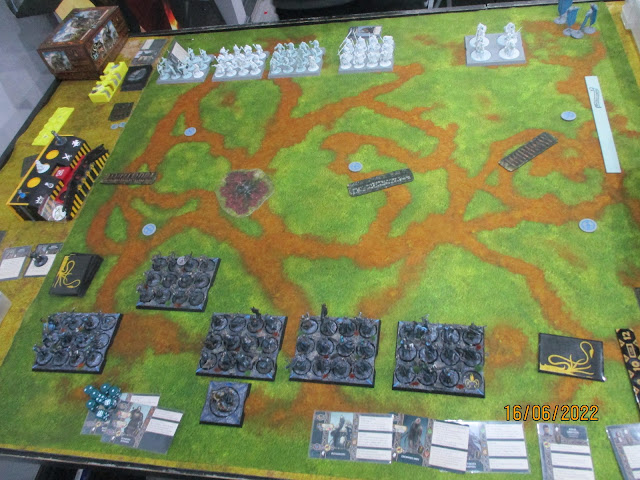
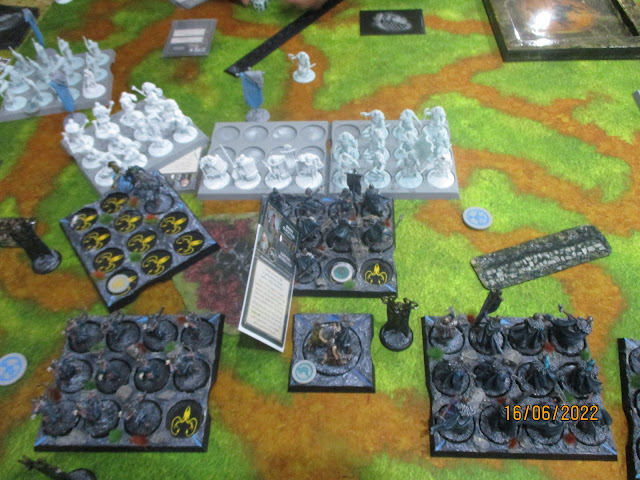
The board at the start of Turn 3
Greg took the swords and used Val to move Tormund out of melee and just generally
annoy me...
Rather than charge after him, I had Roose take the horses
to move the Mummers up as I was looking to go down fighting...
And at the start of the next turn, I used Reek to dish out panic tokens...
on three units...
But purely for effect Greg took the crown
and panicked my Mummer!!!
Still, I activated them and charged into the Thenns!!!
And got a mere three hits...
Forgetting all about Harma's Sentinel...
And playing Overwhelming assault on the attack
Disrupt really didnt help as Ramsay was left alone before the panic...
which he failed...
Harma's unit the activated and flanked my Cutthroats
But they faired better with three left standing!!!
END OF TURN 3
FREEFOLK 6 VP's
HOUSE BOLTON 3 VP's
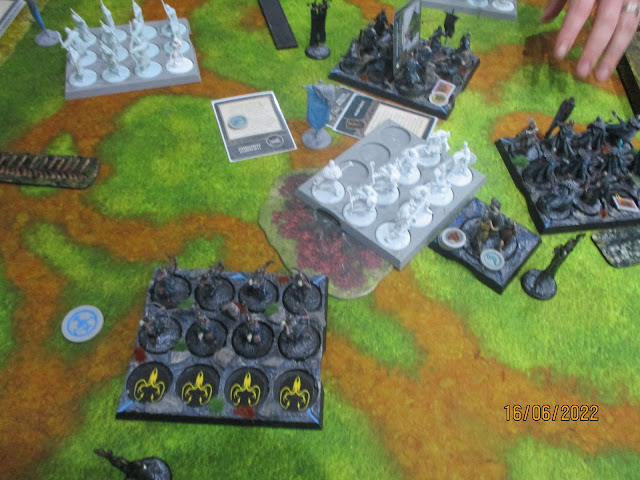
Board at End of Turn 3
TURN 4
I took the letters with Baelish but used the swords
Dropping the Thenns to two left...
After the Cutthroats were cut down, I had Roose take the Crown, give Styr a panic token
And then panic his ass...
Well, something finally went right in the game for me...
Greg snapped up 3 objectives as we closed the game out. I had tried a 4 up charge with
Blackguard on the right but that failed
END OF TURN 4 (and Game)
FREEFOLK 10 VP's
HOUSE BOLTON 4 VP's
Not much I can complain about in that defeat, it was a fairly straight forward win for Greg as
I made some really basic errors. Frontal charge for round 2 was to try and get the Issue Commands on
them and surprise the Spearwives. It was simply not a fair swap, spearwives for Flayed Men.
Although my Blackguard did for Tormund, they should have been central like Harma
and her Followers of Bone. Some nice long range charges were welcome but some bad dice rolls and
that failed charge exposing my flank was awful. Still, it was good to run my Boltons again,
I do like the look and feel of the army, even if competent generalship still escapes me....
GAME 2
Raymond was taking Starks led by Rickard Karstark against my Asha led Greyjoys in
WINDS OF WINTER
Combat Units • Ironborn Trappers (4) Asha Greyjoy - The Kraken's Daughter (0) Qarl - Asha's Champion (1) • Ironborn Reavers (5) • Ironborn Reavers (5) • Drowned Men (4) • Ironmakers (7) Dagmer Cleftjaw - Captain of the Foamdrinker (1) • Ironborn Bowmen (4) Non Combat Units • Aeron Greyjoy (4) • Beron Blacktyde (5)

A pair of Drowned Priest NCU's...

Combat Units • House Umber Berserkers (6) Rickard Karstark - Lord of Karhold (0) • House Karstark Spearmen (6) • House Karstark Loyalists (5) Loyalist Captain (1) • Stark Bowmen (6) Meera Reed - Cunning Trapper (1) • Stark Outriders (6) Winterfell Guardian (1) Non Combat Units • Arya Stark (4) • Lyanna Mormont (4)
My opponent Raymond (Mr Ray) failing at his Fonzy attempt
Although he has mastered the limping T-rex quite well
Anyway, enough nonsense, off to a truly classic game!!!
Terrain L to R: Palisade, Weirwood, wall, stakes
STARKS L to R: Bowmen with Meera, Karstark Loyalists (Bruiser stand ins), Umber Berserkers with
Rickard, Karstark Spearmen and Outriders far right.
Greyjoys: Reavers, Bowmen (moved up from horses), Asha's Trappers with Drowned Men behind,
Ironmakers, Reavers
And early crown attack on my right Reavers had an ominous result...
I lost four bowmen to Meera's traps too, but Drowned Men healed two back up
This was another unsubtle first turn...
But I was able to drop back when I shot off the swords with the Bowmen
TURN 2
The cards were now brought into play. I selected killing the enemy commander for extra points,
while Ray played swords or letters give a point.
In seeing my card, Raymond quickly used Arya to move Richard Karstark's Berserker's
away from Asha (or rather Qarl). So I took the horses and went after him...
Certainly makes for a more interesting and thinking man's game with the cards,
as Ray checks his options
Qarl had a target in view this turn...
But the Spearmen had to play blockers, killing two Trappers so I shot them with the bowmen
I got 5 hits...
which was awesome when Raymond failed 5 saves...
After some healing there was an attack back (assault orders?)and I dropped two more Trappers
The Trappers attacked back and I have to be honest, it was a good roll...
This gave me two pillage token which I used with the Iron Price
A failed 5+ charge was a risk to take but removing the Spearmen earl would have been
a big psychological win...
As it was the Loyalists hammered into the Reavers...
Leaving two there as the Berserkers and Rickard charged in again...
I responded with the Ironmakers with Kraken's Wrath...
And I definitely felt I had the upper hand in this big melee...
The Outriders skirted the stakes and wall
and opted for the Reavers, badly mauling them so I used Raiding call to restore 3 from Ironmakers
So they attacked with full ranks, causing 4 wounds on the Outriders...
TURN 3
I had scored a point from Raymond using the sword zone last round but that was it
and this time I played score 1 from Raymond being first to use any tactics zone which
he did straight away
Taking the horses and retreating Rickard and his not so berserkers away...
The Loyalists finished off my left side Reavers...
While the Outriders charged my right side Reavers.
Using Trappers order I'd weakened the Spearmen and as the bowmen activated I used Ironborn mettle
to heal 3, the same I'd lost to the bowmen last turn
Ray went for a 4+ charge with the Berserkers but came up badly short...
The Spearmen activated and retreated away so I activated the bowmen to shoot them
And scored five hits...
And again Raymond failed 4 of his saves thanks to the vulnerable
A space to exploit...
END OF TURN 3
HOUSE GREYJOY 3 VP's
HOUSE STARK 1 VP
TURN 4
And Raymond plays the trump card, as he is behind he now gets a VP and gets to be first player
Raymond activated an NCU and used assault orders to charge the Reavers
(whom I retreated out of melee last turn). My card was whoever held centre at end of turn would
score 2 VP's
Their nine attacks with card combos easily killed my 3 men, but What is Dead may never die
allowed 3 to survive...
I flanked the berserkers, but didnt manage to kill them, leaving two alive who again retreated,
using Arya. The Stark bowmen fired a volley at their Ironborn counterparts...
But my armour was up to it...
The Loyalists charged into the Drowned Men
who took three wounds from the attacks but survived thanks to the Weirwood tree
I shot into the flank of the Loyalists and dropped 3...
The Berserkers came barrelling in again...
but failing to do much and healing again as they attacked.
I then played we do not sow to attack back from the tactics board...
Using the Kraken's Wrath for re-rolls and Precision...
Sadly, Raymond managed again to keep Rickard alive...
All alone and incredibly frustrating!!!
END OF TURN 4
HOUSE GREYJOY 5 VP's
HOUSE STARK 3 VP's
TURN 5
Raymond selected if take zone before opponent, give a VP and I played a VP for every objective.
And then the Karstarks went pure evil on me!!! Alone, Rickard aka Raymond
played"A Need for Vengeance which is start of round, allowing him to attack on 2+'s.
He destroyed the Trappers single handedly, with Fuelled by slaughter restoring 4 wounds plus two more
from Karstark retribution which was on the Trappers.
However, I did have What is Dead may never die, and passed morale check to stay in fight
while playing Ironborn mettle to heal 4...
Then I got a free NCU activation using Beron Blacktyde to influence
and heal further...
Before then having my activation, taking the swords (gifting a second VP to Raymond) and used
swords to attack the Berserkers again, dropping them to three...
The Berserkers retreated off the horses as my Ironmakers flanked the Loyalists...
Scoring 8 hits with their critical blows...
But Raymond showed some good dice too
Thank god for vulnerable!!!
The Loyalist Captain was left alone (it's a theme for the Starks this game!!!)
Rickard and his two berserkers rear ended the Eleven Ironmakers...
And scored 9 hits with sundering and which I failed to make a single one...
Wiping them out with a failed panic and allowing the Loyalists to heal from Karstark retribution
I charged the rear with Asha's unactivated Trappers and all hit
Killing six and leaving the Loyalist Captain alone again but he passed the panic...
And then activated to kill the Drowned Men!!! The Berserkers had surged forth
onto the central objective and as I weighed up my options the best I had was charge!!!
So the bowmen charged in, taking hits from Meera's traps...
but having enough to destroy the Loyalists and surging back onto the objective, surviving the Stark













0 Yorumlar